React.js - simple app practice (3/4)
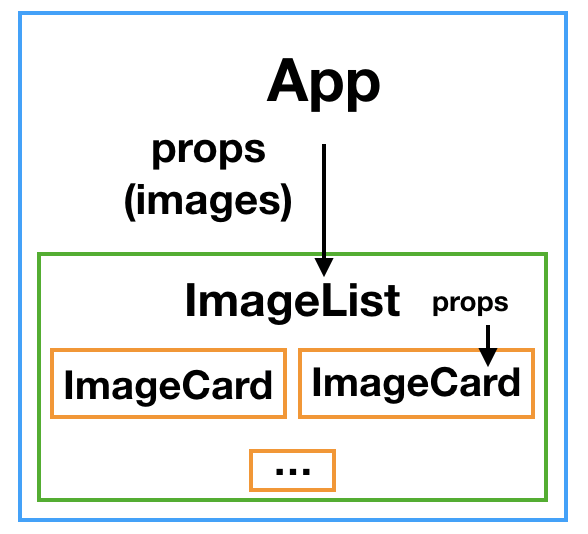
In previous postings I covered the basic structure and SearchBar component. Now this is time to fetch images from API server! Diagram below shows how this will be done.
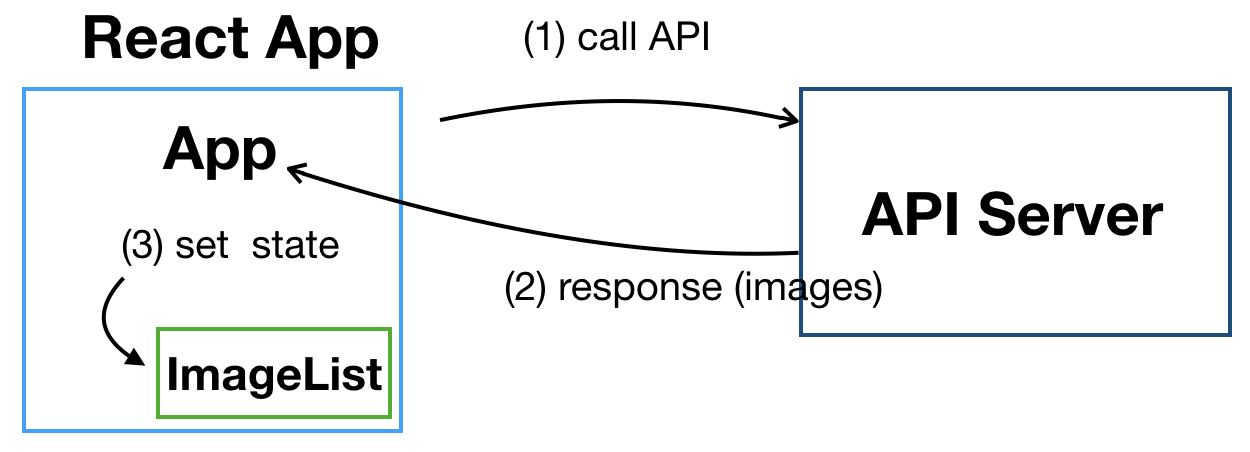 (1) Our react app makes an API call to API server
(2) API server in return sends images of my interest in response.
(3) important App component receives images, sets them as state, passes them down to ImageList component for further processing.
I will cover a little more about (3) at this end of this post. Now, let’s understand how the API call can be made. Again, this is just a redo practice of Stephen Grider’s React Course - pics, and I’m utilizing the sources he used in the lecture.
Class App extends React.Component{
    state = {searchedImages:[]}
    onSearchSubmit = async (userInput) =>{
        //API call
        this.setState({searchedImages:response.data.results});
    }
    render(){
        //render
    }
}
So the API call will be made inside of onSearchSubmit function, and as the diagram above showed, it will pass the retrieved data to ImageList component as props. I will make use of a popular javasript library AXIOS here.
Axios
Axios github Axios is a promise based HTTP client for browsers and node.js. So as a HTTP client, it can send GET, POST, PUT, DELETE requests. Examples of using axios to make request literally abounds. FYI, axios means ‘suitable’, or ‘worthy of’ in Greek.
GET
    axios.get('/user', {
        headers: {  //include header information
            authorization: '...'
        },
        params: {   //include params
        ID: 12345
        }
    })
    .then(function (response) { //on success
        console.log(response);
    })
    .catch(function (error) {   //on error
        console.log(error);
    })
    .finally(function () {
        // always executed
    });
POST
    axios.post('/user', {   //data in request body
        firstName: 'Sang',
        lastName: 'Kim'
    })
    .then(function (response) {
        console.log(response);
    })
    .catch(function (error) {
        console.log(error);
    });
default setting
- Setting up for default configuration for Axios call is recommended if you will be making lots of API calls with same baseurl or header information. This can be done like below.
    axios.create({
        baseURL : 'https://input_base_url_address',
        headers : {
            Authorization: 'input_auth_info',
            ...
        }
    });
API Server (unsplash.com)
- unsplash.com is one of many API servers out there. I got to use it in my udemy course, and I think it is an easy-to-use website for testing simple apps like this.
(1) Make an account, and activate using email confirmation.
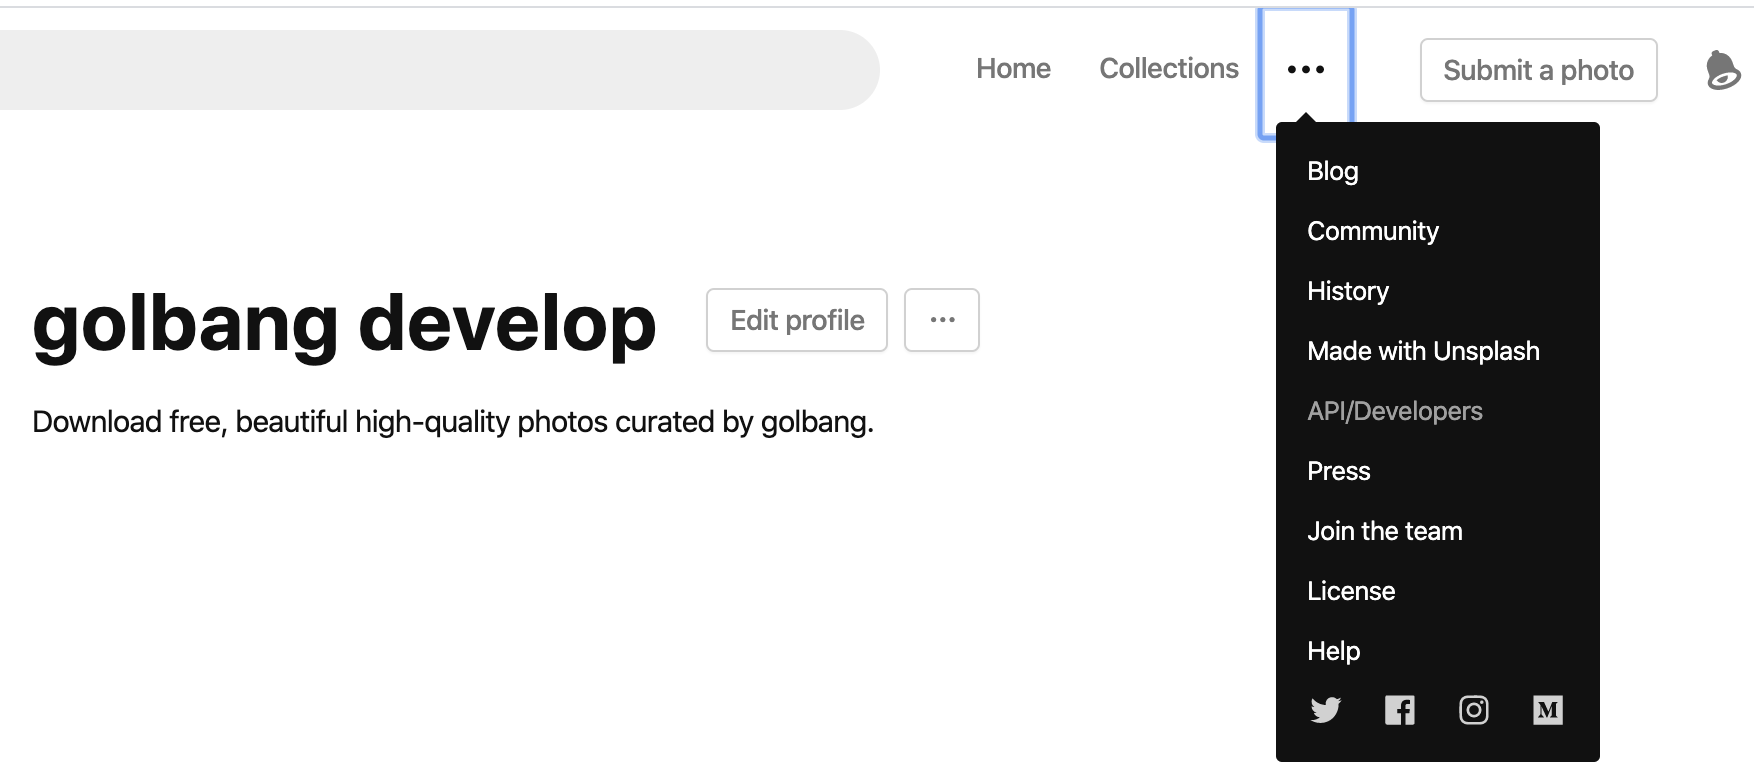 (2) Go to API/Developers -> Your App -> Create new app
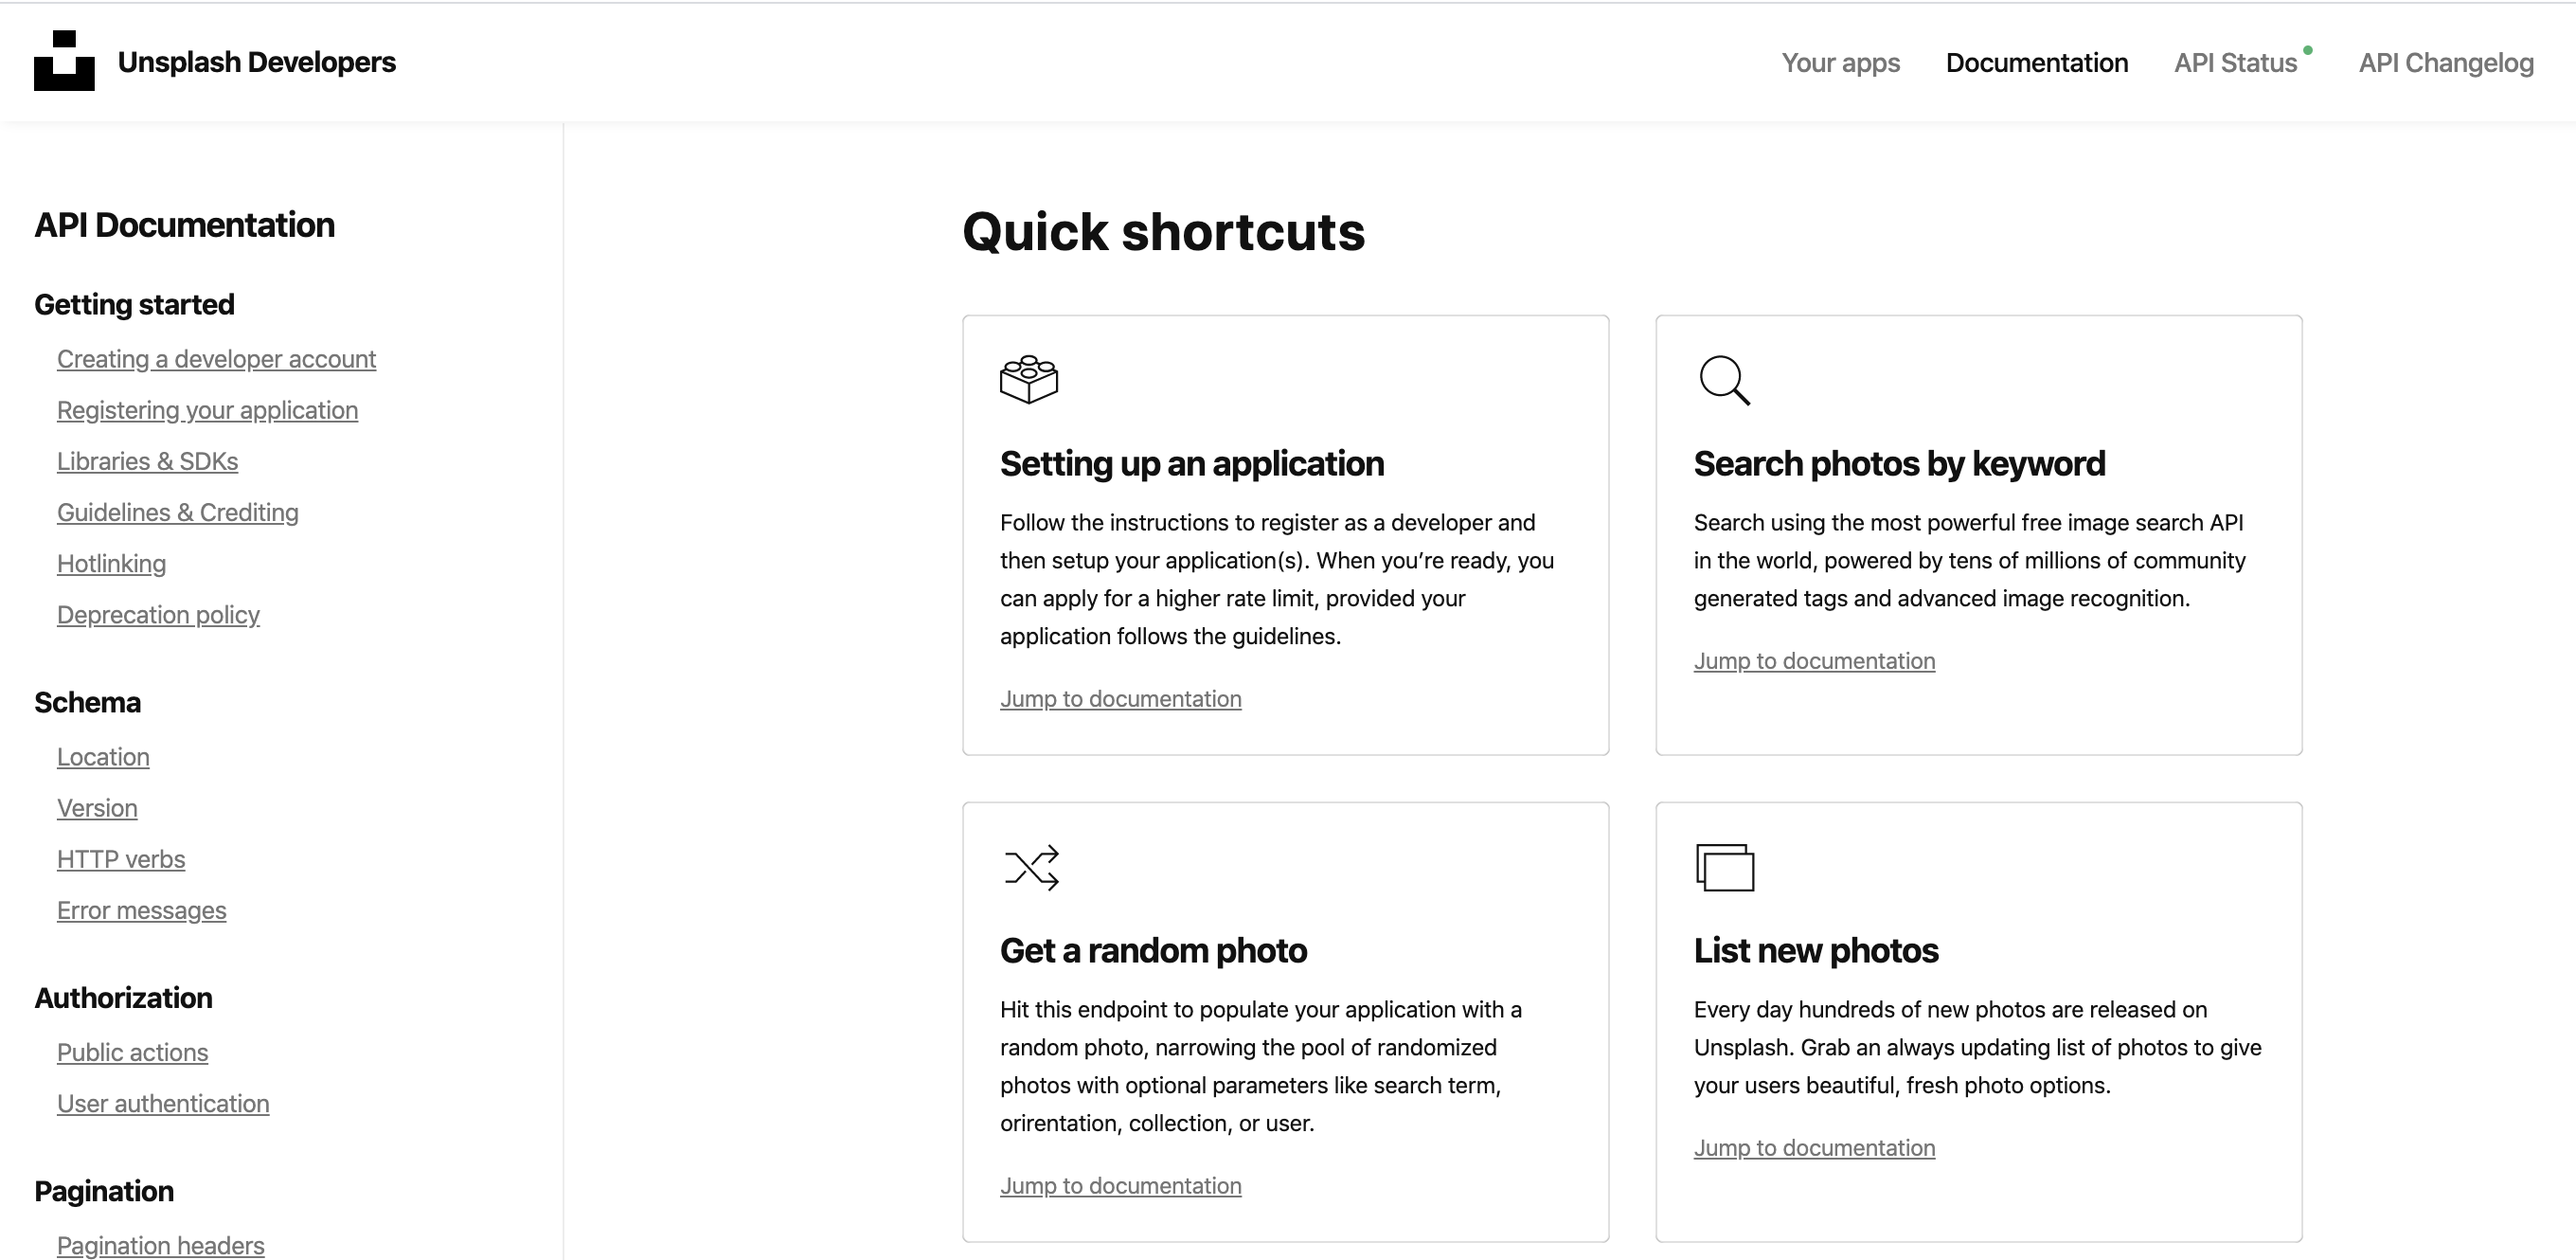 (3) Go to Documentation and look around!
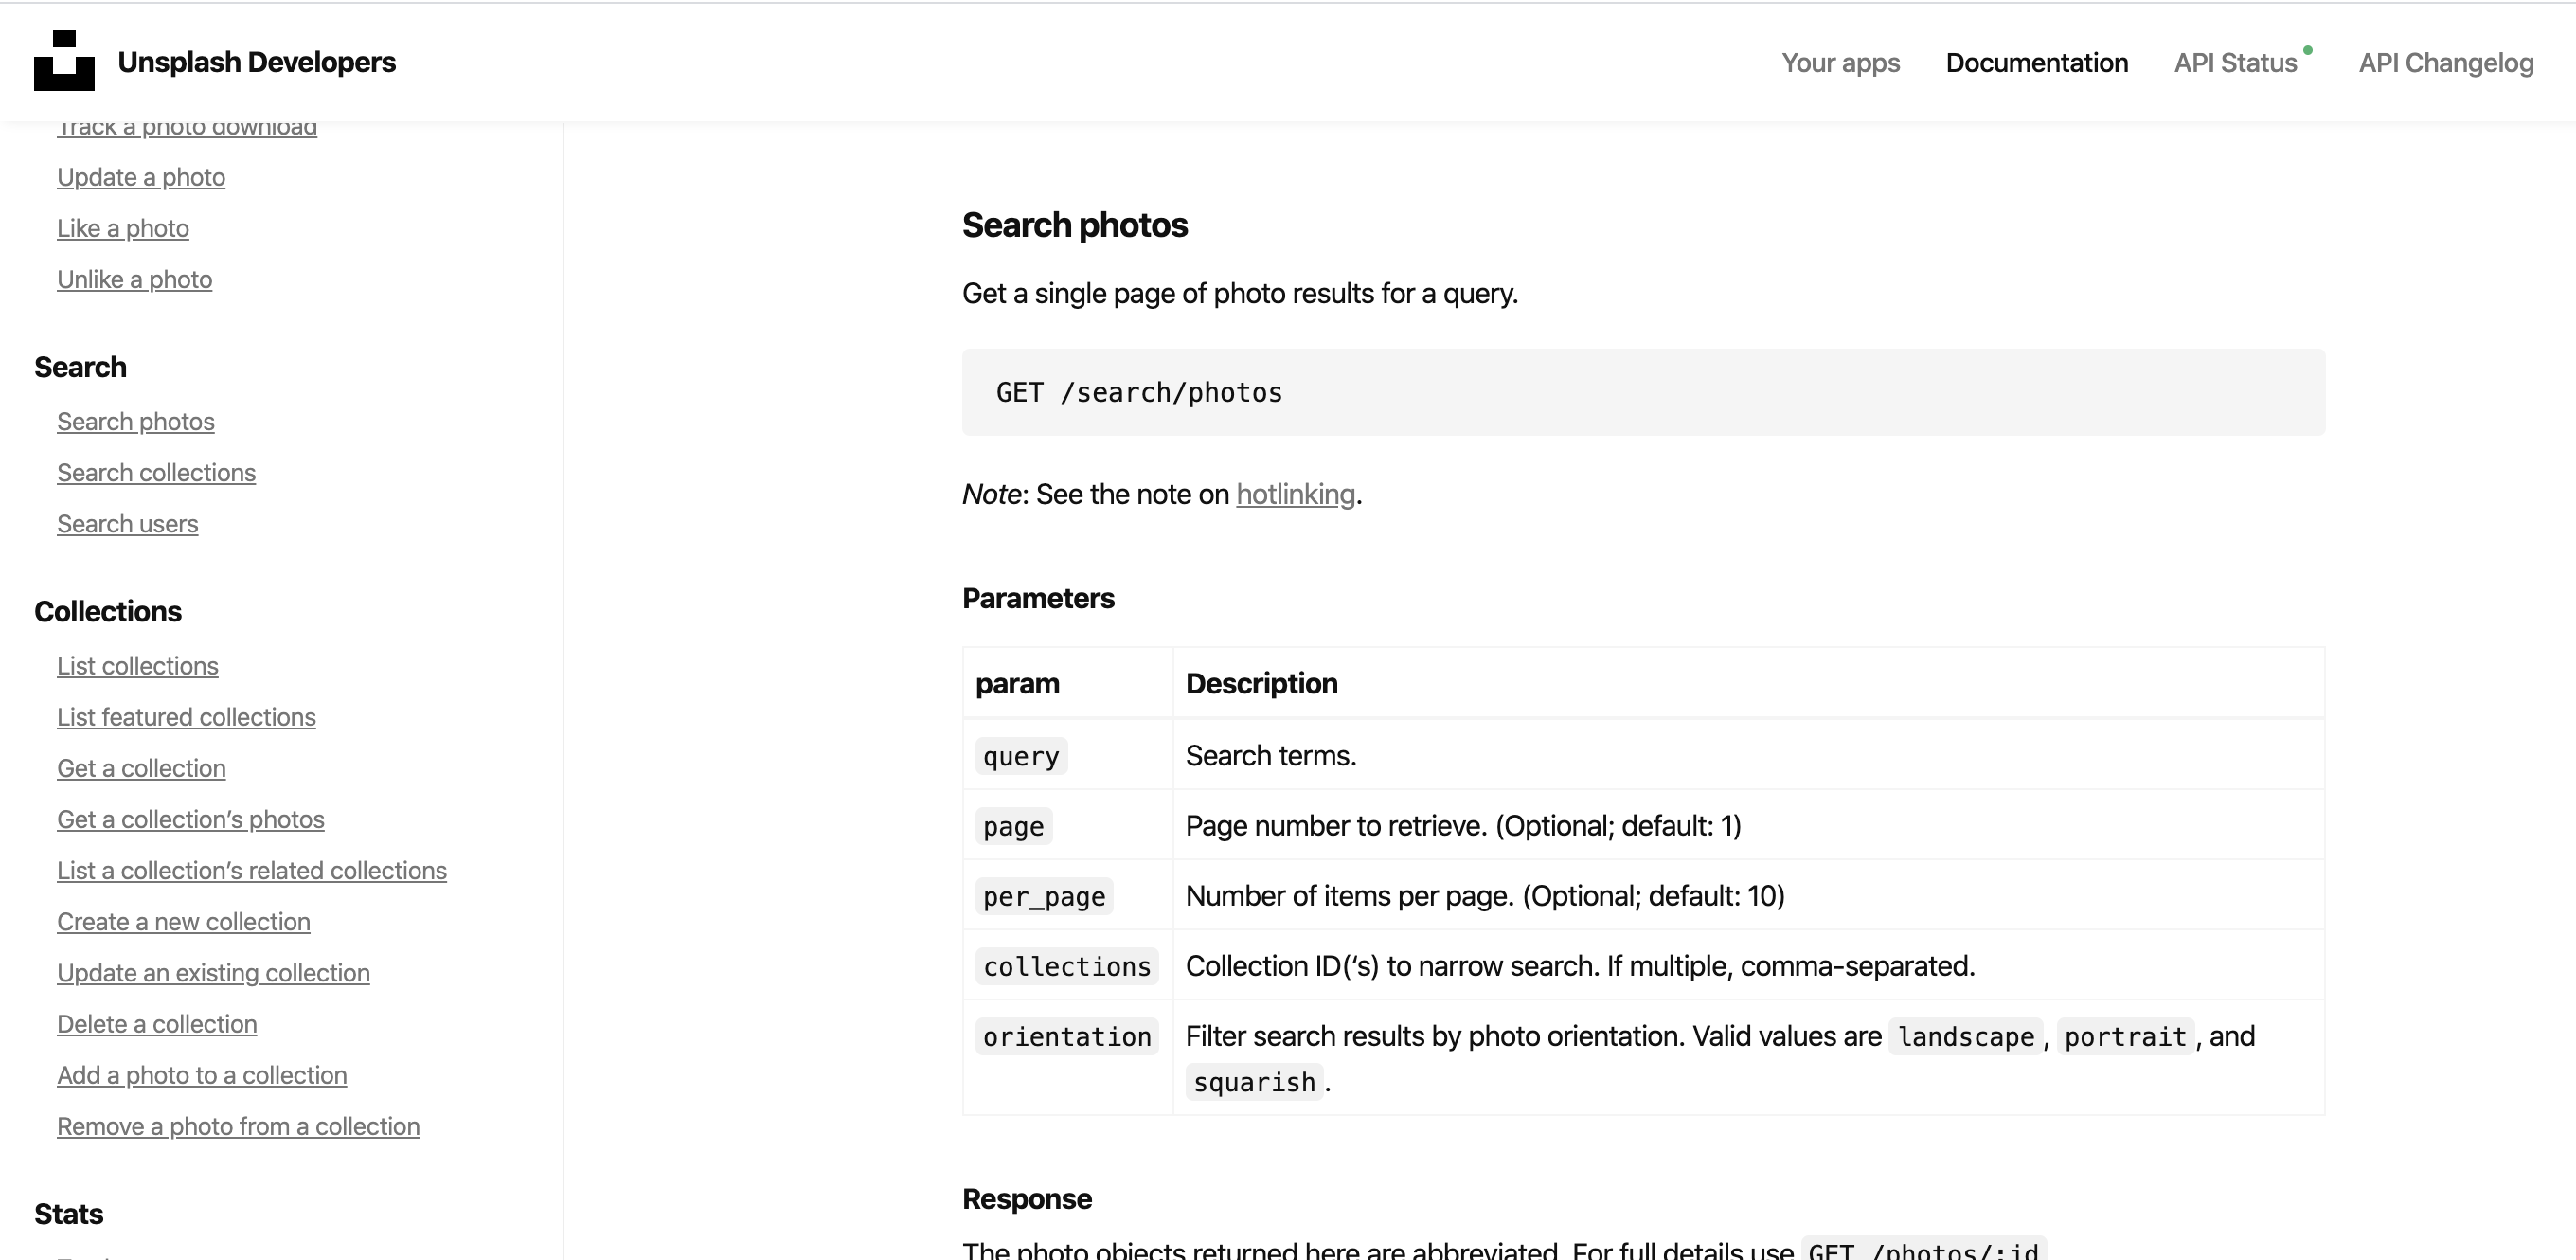
Key features I’ll be using from this website is ‘Authorization’ and ‘Search photos’.
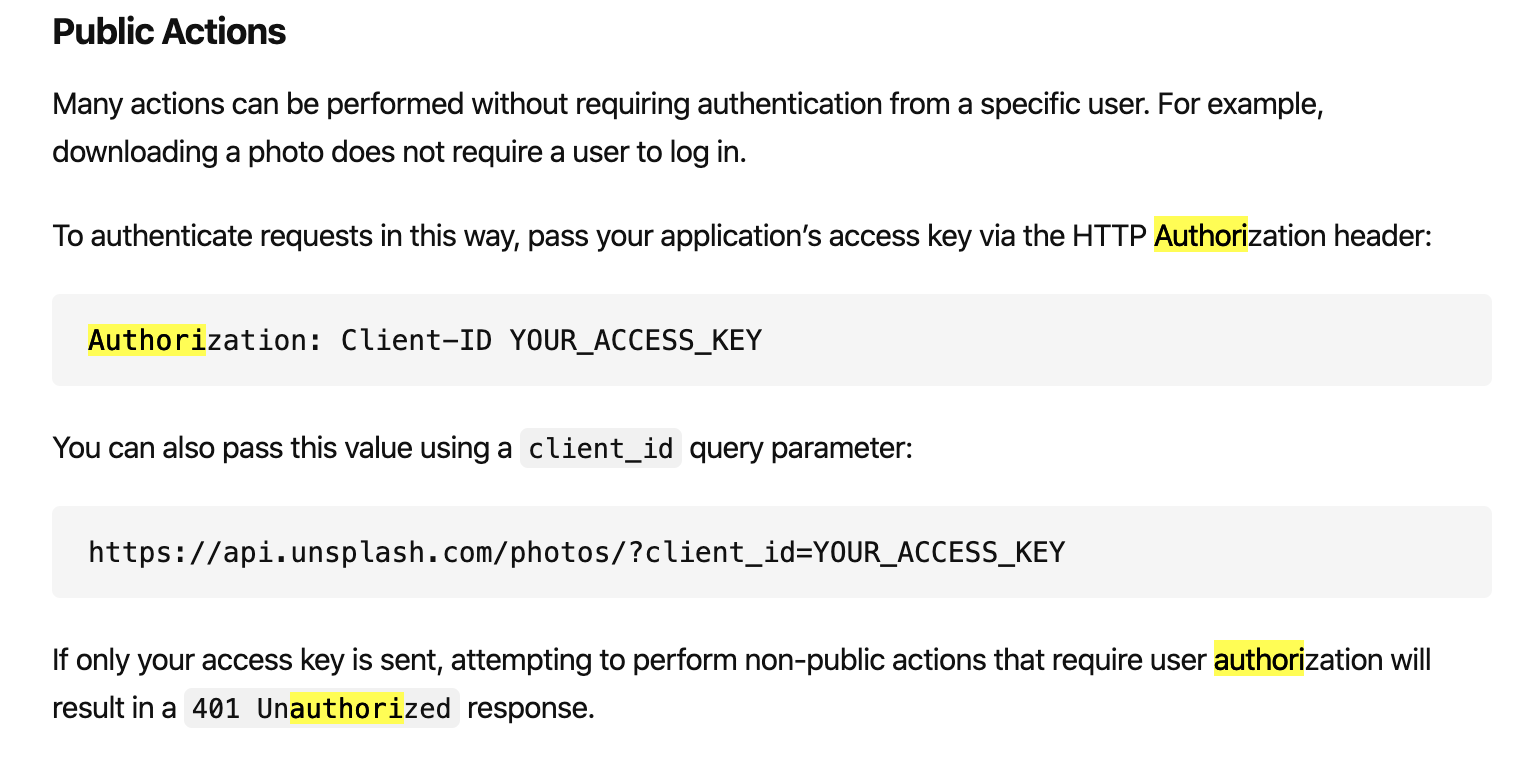
- ‘Authorization’ is essential, because the API server cannot let unauthorized external requests to be processed. It will only let authorized requests to fetch image data from its server. As can be noted from the diagram above, the access key has to be included in header of the request. Access key information can be found by entering your app from unsplash.com and scrolling down a bit (trust me).
- ‘Search photos’ api will be used to get images with user input.
Implementation
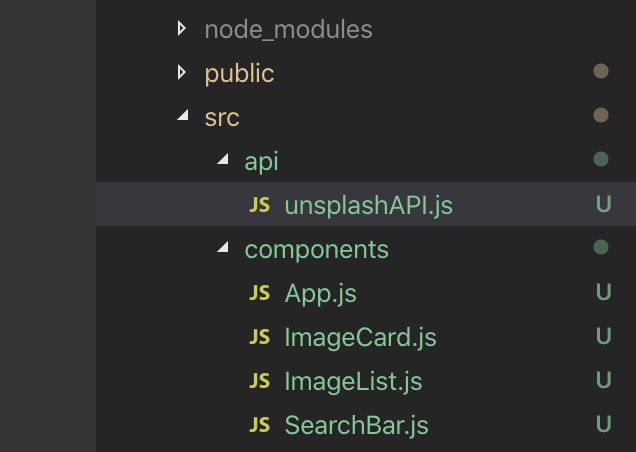 Actual code will be written in both api/unsplashAPI.js and components/App.js.
//unsplashAPI.js
    export default axios.create({
        baseURL : 'https://api.unsplash.com',
        headers : {
            Authorization: 'Client-ID 15d0a1741669e8876f8b442314140e135afb7a8a7e6f7d9c9f64f3ffb6819d55'
        }
    });

//App.js
    onSearchSubmit = (userInput) =>{
        const response = unSplashAPI.get('/search/photos',{
            params: {query: userInput},
        })
        this.setState({searchedImages:response.data.results});
    }
And below is the entire App.js
class App extends React.Component{

    state = {searchedImages:[]}
    onSearchSubmit = (userInput) =>{
        const response = unSplashAPI.get('/search/photos',{ // -- (1)
            params: {query: userInput},
        })
        this.setState({searchedImages:response.data.results}); // -- (2)
    }

    render(){
        return (
            <div className="ui container" style=>
                <SearchBar onSubmit={this.onSearchSubmit}/>
                <ImageList images={this.state.searchedImages}/> // -- (3)
            </div>
        );
    }
}
As can be seen, after fetching images from API server, it sets state as searched images in App component. Then the state gets passed down to ImageList as props. Everything seems perfect. Let’s run it.
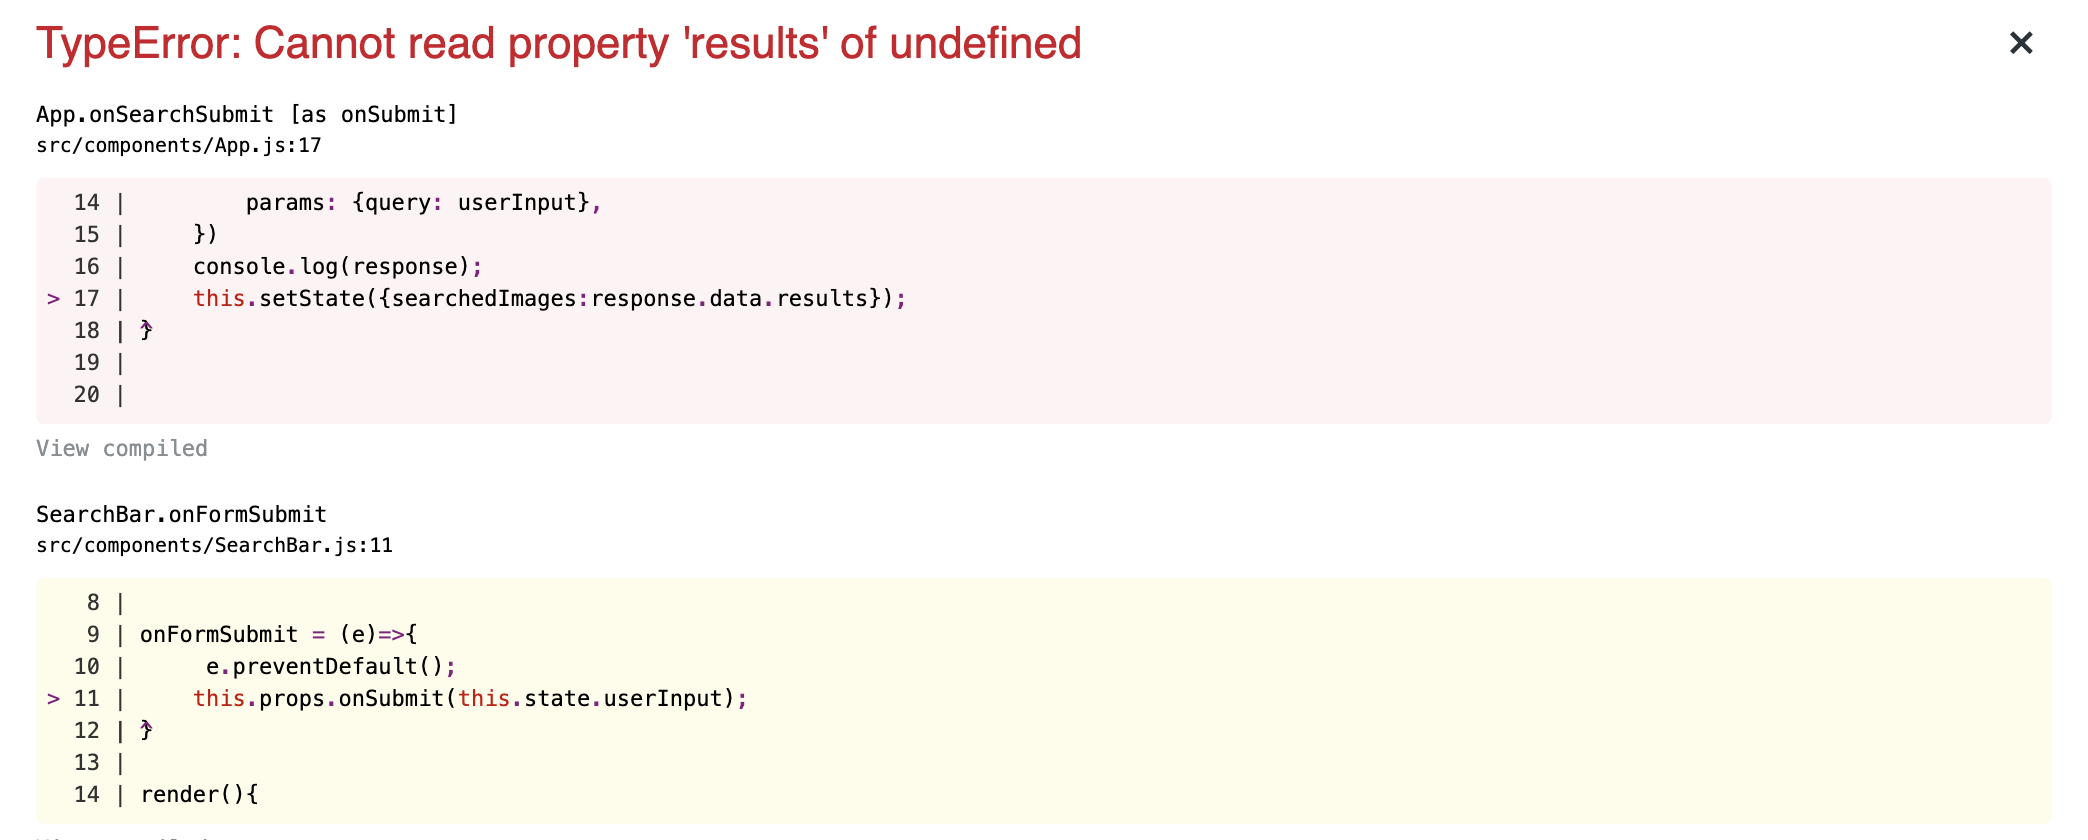 Error pops out, saying that response.data.result is undefined. Upon logging what is inside of response.data, I found,
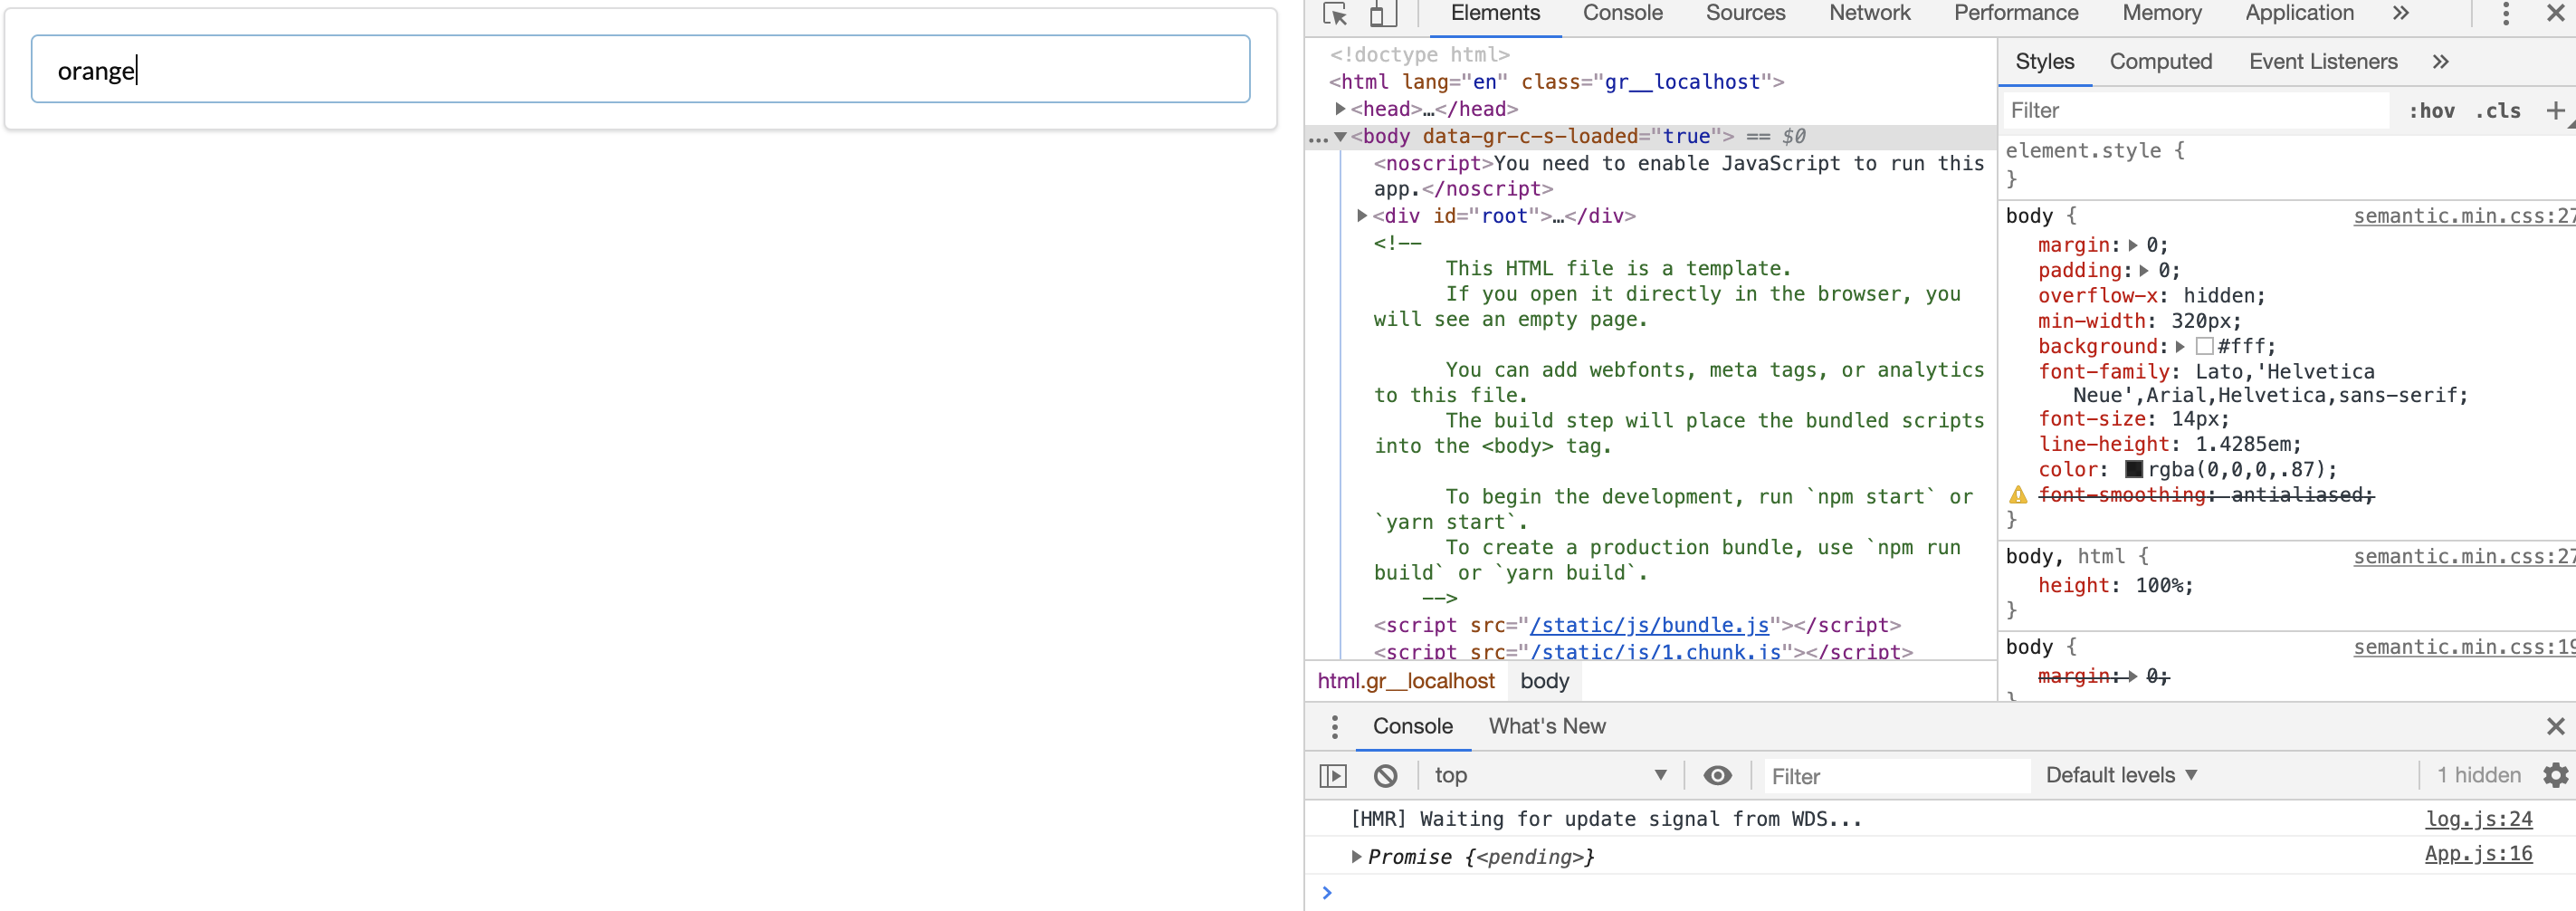
This has something to do with the nature of JavaScript coding and axios. Firstly, as clarified in the axios section of this post, axios returns a promise, which is object representing the eventual completion (or failure) of an synchronous operation and its resulting value. Hence it is written promise in the debugging console.
JavaScript code executes its code line by line, in the order of top to bottom. When it meets an API calling part like unSplashAPI.get(…), it executes it, and goes right next to the other lines of code without waiting for return. Hence by the time the browser reaches (2) (–(2) from commented area), the result of API call may not have arrived just yet. (with 99.99% of probability, because reaching out for server and getting all necessary images will certainly take longer time than executing code just next).
That’s why we need another syntax, async-await. Here’s a good reference. In short, if I use async-await, the browser waits for async operation to be finished, and execute the next codes. To my onSearchSubmit function, I added async and await syntaxes like below.
    onSearchSubmit = async (userInput) =>{
        const response = await unSplashAPI.get('/search/photos',{
            params: {query: userInput},
        })
        this.setState({searchedImages:response.data.results});
        console.log(response.data.results);
    }
And inputting the keyword ‘orange’ to the SearchBar, I get.
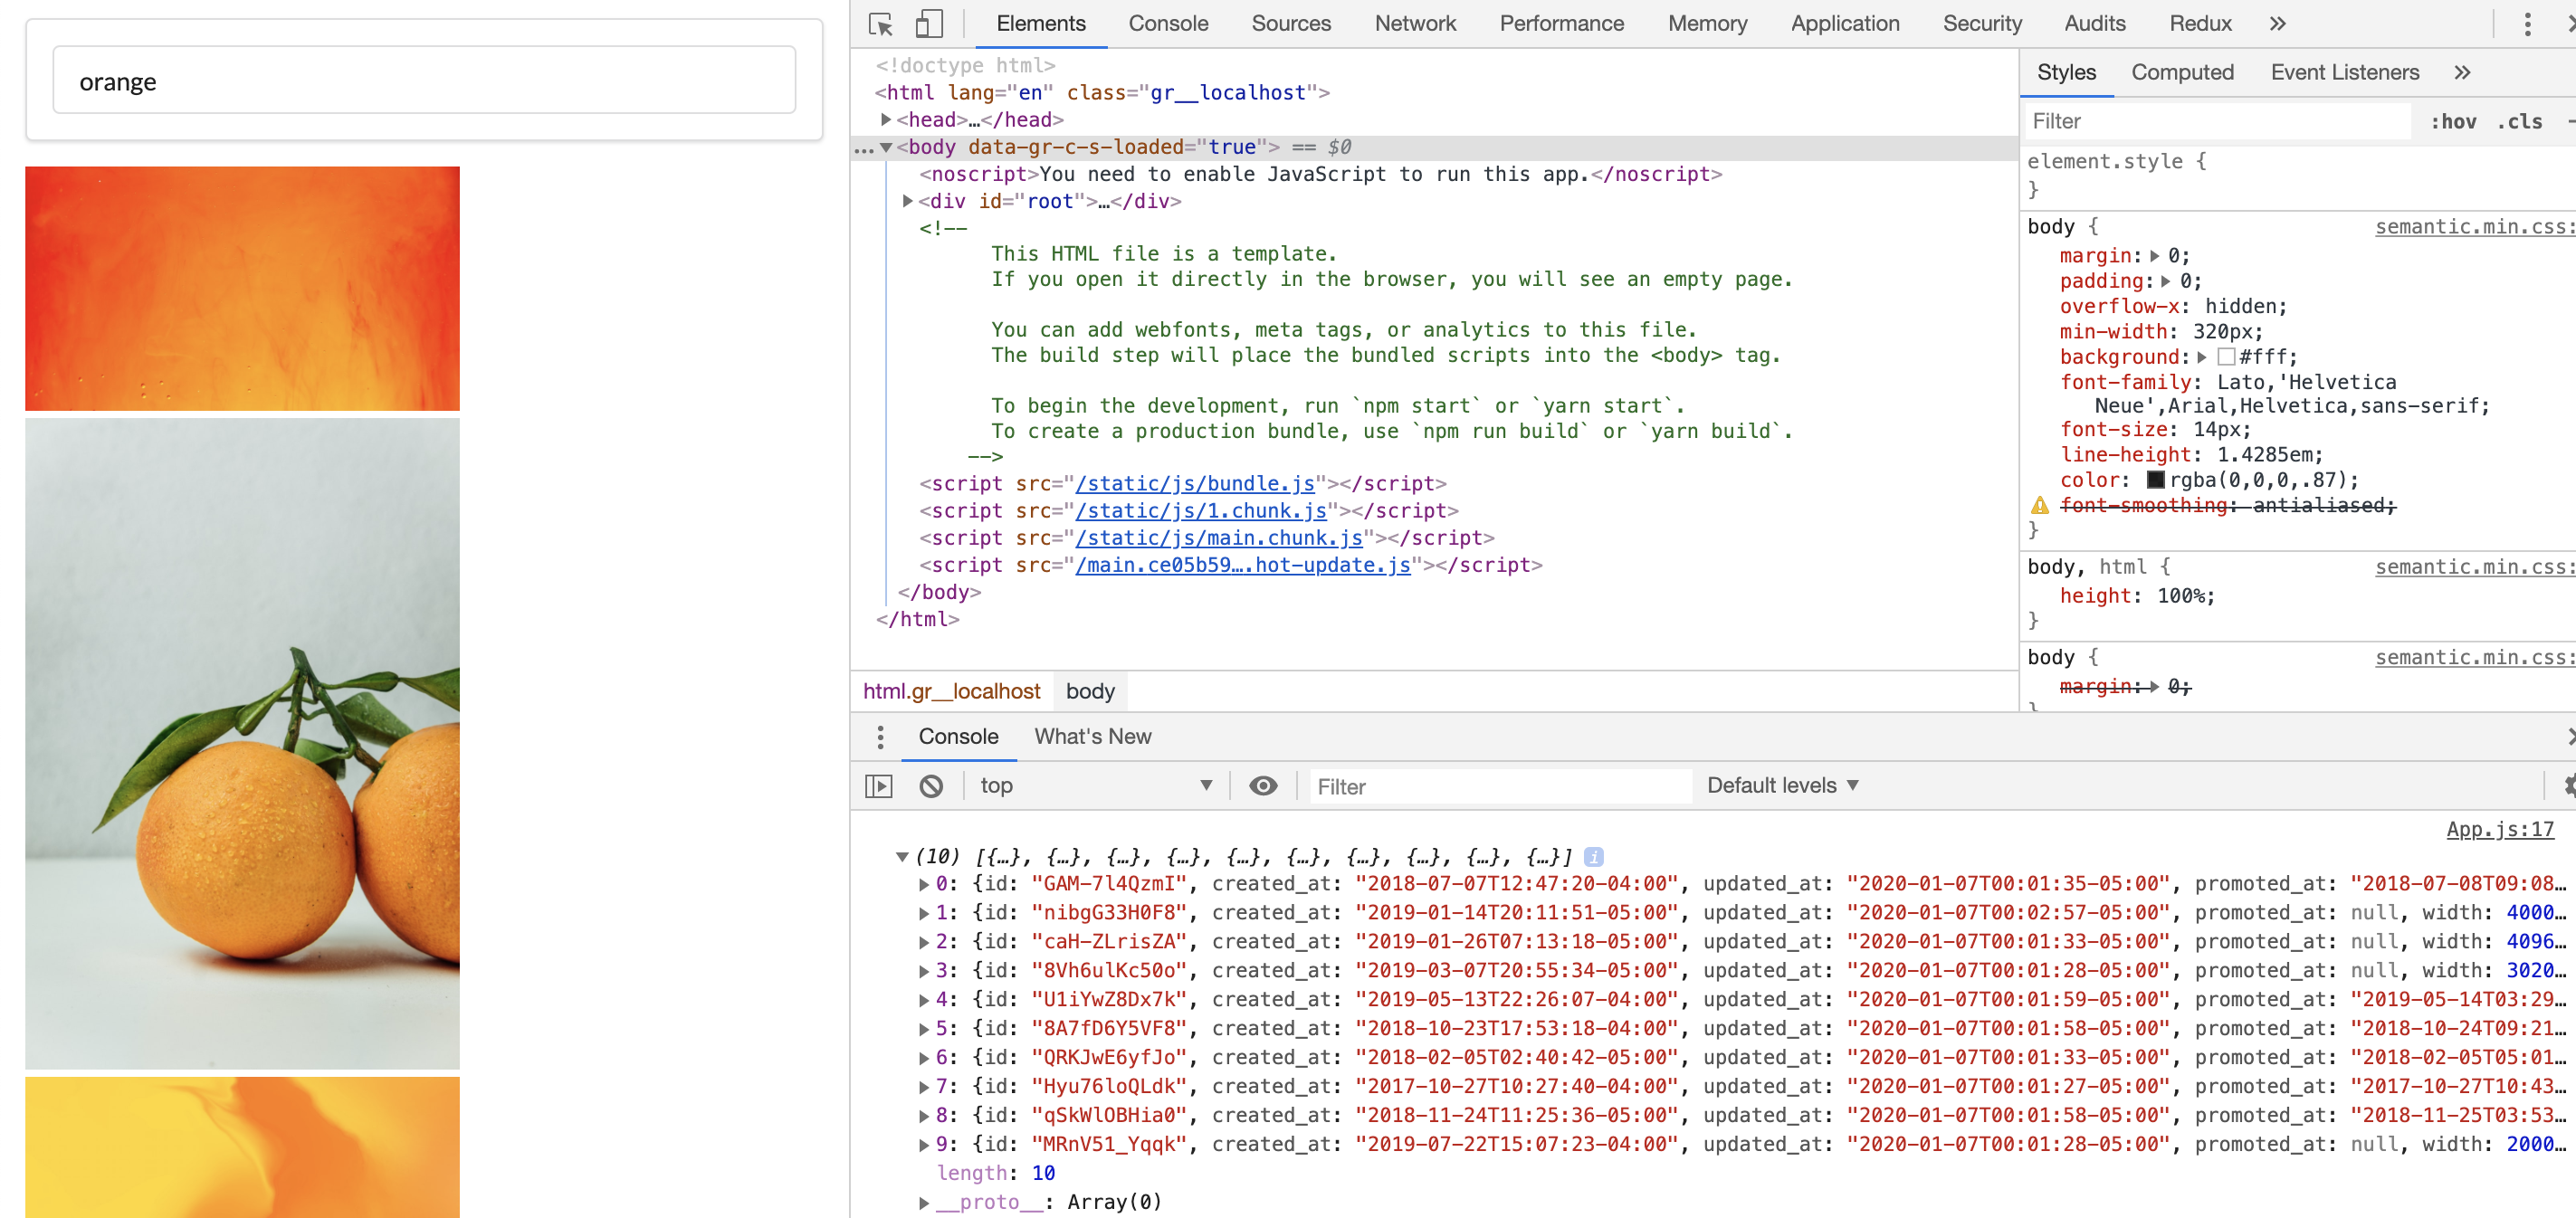
Yep. This was it. But never mind the actual photos of oranges on the left side. That part is not implemeneted yet, and will be covered in the next posting. In this post, I covered how to make an API call using axios and external API server, and also very briefly about using async - await syntax in API calling occasions like this app.
 In the next and final post, I will handle the passed on images in ImageList & ImageCard components, and will add some css to make it look good. See ya~
